How to Design a Beautiful Wall Gallery
There is something so special about walking into a home and seeing family photos displayed throughout the house. It instantly makes a home feel warm, cozy, and inviting.
When we moved into our home, one of the first things we did was gather all of the family photos and meaningful memorabilia I wanted to display.
Once everything was together, I began designing a wall gallery that showcased my family along with a few architectural and vintage elements that I love.
Start with a Focal Point
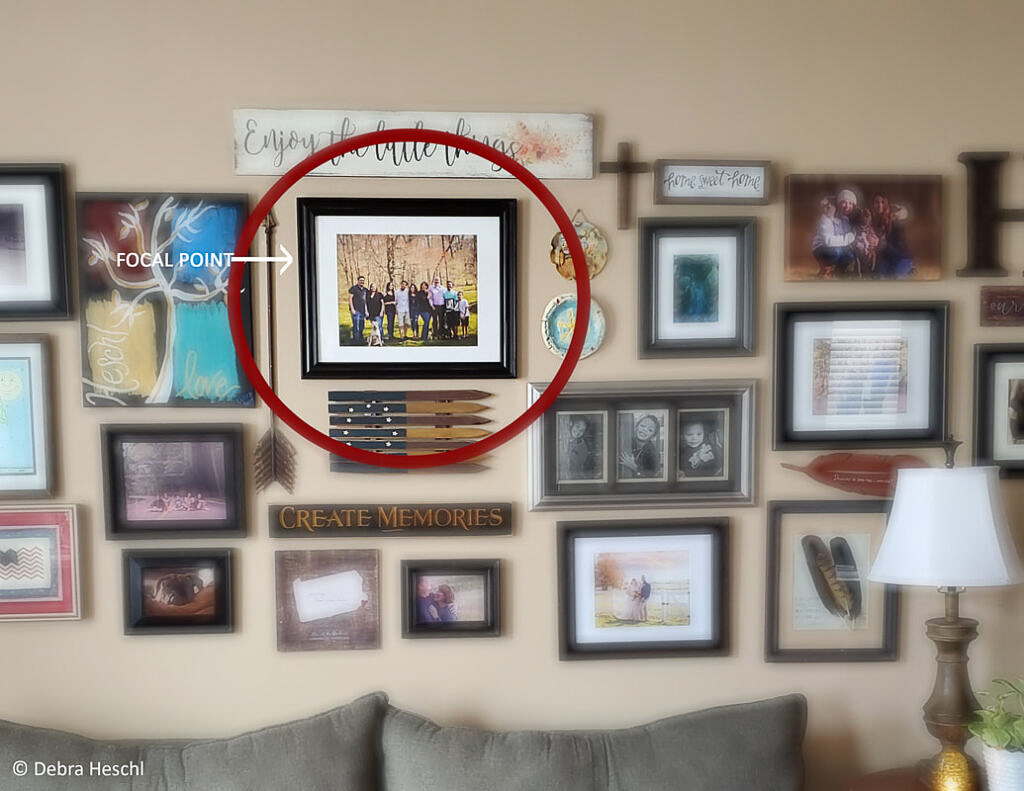
The easiest way to design a wall gallery is to begin with one large focal piece. For me, that was a large family portrait of my clan.
Once your focal point is in place, build outward by arranging additional photos and treasured pieces around it.
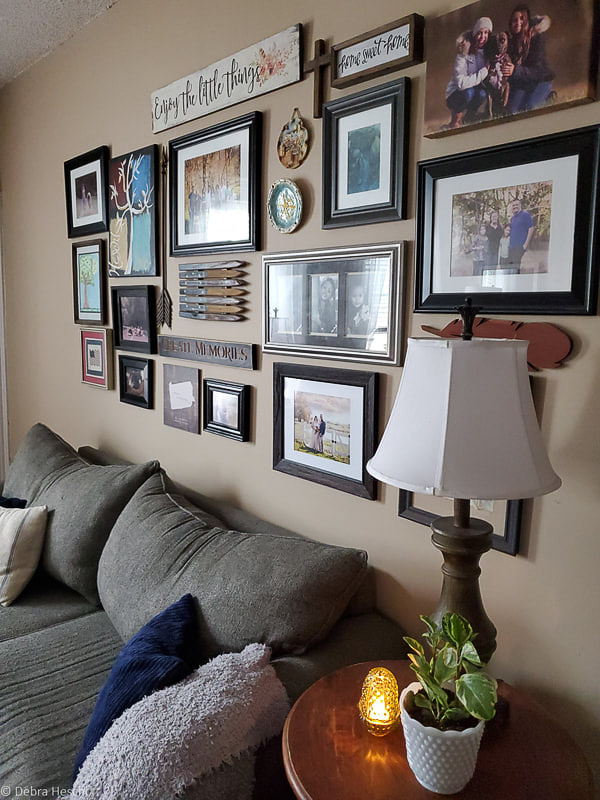
I chose to extend my gallery beyond the length of our couch to create a larger visual impact. Continue adding pieces around the top and bottom until the gallery feels balanced.
Mix Frame Sizes for Interest
One thing I’ve learned over the years is that larger frames make a much bigger statement than several tiny ones.
I personally love using frame sizes ranging from 5×7 all the way up to 16×20. Mixing different sizes creates visual interest while keeping the display cohesive.
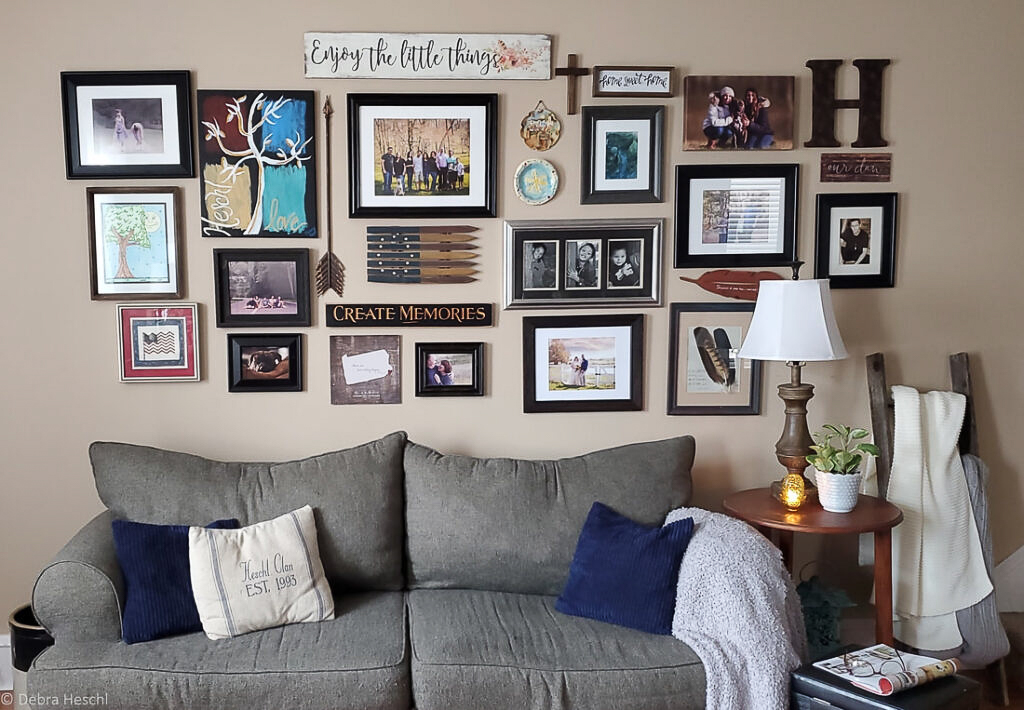
Between the framed photos, add meaningful memorabilia such as:
- Vintage finds
- Artwork
- Architectural pieces
- Family keepsakes
- Antique treasures
Display what brings you joy. If you’re not completely happy with the arrangement, that’s perfectly okay.
Live with it for a few days and don’t be afraid to move things around until it feels just right.
Avoid a Cluttered Look
While smaller frames certainly have their place, using too many can make your gallery wall feel busy and cluttered.
If you’d like to include smaller frames, I recommend limiting them to just a few and allowing larger pieces to anchor the design.
Try the Floor Layout Method
If you’re unsure where to begin, many people use the floor layout method before hanging anything.
Lay all of your frames and décor pieces on the floor, arranging them until you’re happy with the design. This gives you the opportunity to make changes before putting holes in the wall.
You can find lots of wonderful gallery wall ideas on Pinterest for inspiration.
Personally, I’ve created several gallery walls over the years, so hanging them directly on the wall worked well for me. I already had a vision of how I wanted everything to look.
Choosing the Right Hanging Hardware
The type of wall you have will determine the hardware you’ll need.
Our 140+-year-old home still has many of its original stone walls, which can make hanging heavier frames a little challenging. We used masonry screws for the larger pieces and Command™ strips for lighter artwork.
One recommendation I do have is to avoid hanging heavy frames above your bed using adhesive strips alone.
Here’s a simple trick to keep your frames from shifting:
place a small piece of sticky tack on the bottom corners of the frame.
It helps keep everything straight and prevents the frames from moving every time someone walks by.
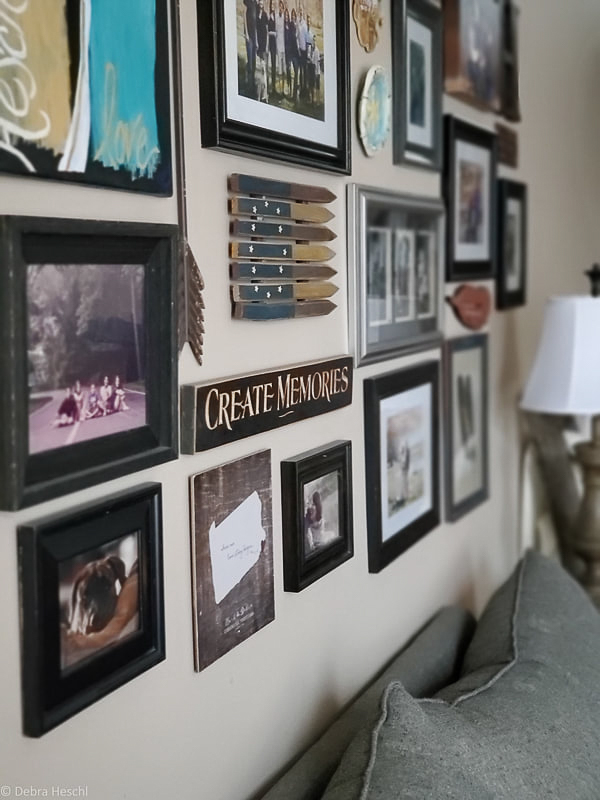
Before starting your family photo wall, be sure you know what type of wall you’re working with so you can choose the proper hanging hardware.
Tools You’ll Need
- Drill
- Mallet
- Level
- Screws
- Masonry screws (if needed)
- Command strips (optional)
- Sticky tack
Common Mistakes to Avoid When Designing a Wall Gallery
Even the most beautiful photos can lose their impact if a gallery wall isn’t thoughtfully arranged. Here are a few common mistakes to avoid when creating a wall gallery you’ll love for years to come.
Hanging Everything Too High
One of the biggest mistakes people make is hanging their gallery wall too high on the wall. Your photos should feel connected to the room, not like they’re floating near the ceiling.
A good rule of thumb is to keep the center of your gallery around eye level. If you’re hanging it above furniture, leave about 6 to 10 inches between the top of the furniture and the bottom of your gallery.
Using Only Small Frames
While small frames can be charming, using too many of them often makes a wall gallery feel busy and cluttered.
Instead, anchor your display with one or two larger frames, then fill in around them with a mix of medium and smaller pieces. The variety creates balance and naturally draws the eye through the display.
Forgetting Consistent Spacing
Uneven spacing can make even the prettiest gallery wall feel unorganized.
Try to keep approximately 2 to 3 inches between each frame. The exact distance isn’t as important as keeping the spacing consistent throughout the gallery so everything feels intentional.
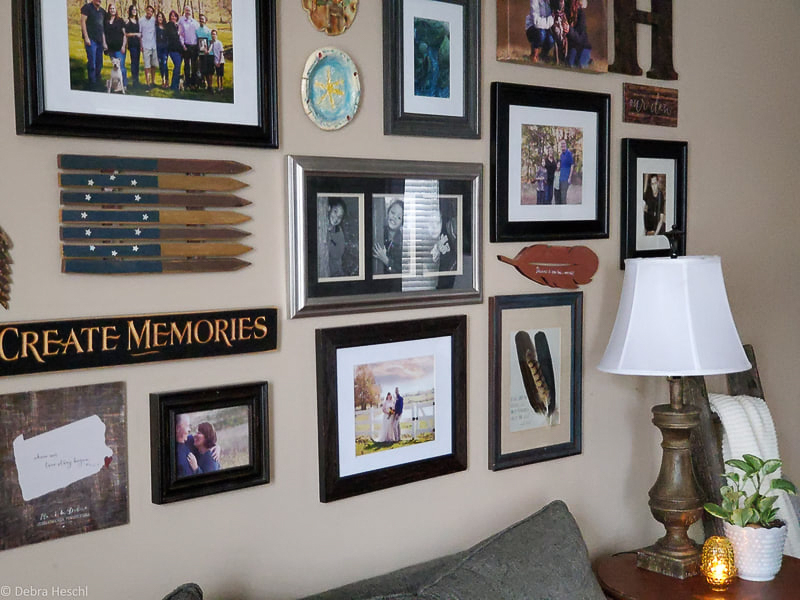
Not Choosing the Right Wall Anchors
Before you start hanging anything, consider what type of walls you have.
Drywall, plaster, brick, and stone walls all require different hardware. Heavy frames especially need proper anchors to keep them secure.
Taking a few extra minutes to choose the correct hardware can save you from damaged walls—or broken frames—later.
Making the Layout Too Symmetrical or Too Crowded
A wall gallery should feel collected, not overly perfect. If every frame is the same size and perfectly lined up, it can lose some of its character. O
n the other hand, filling every inch of wall space can make the display feel overwhelming. Aim for a balance between structure and personality.
Leave a little breathing room between frames and don’t be afraid to mix in artwork, antique finds, or meaningful keepsakes that tell your family’s story.
A Final Tip
Remember, your wall gallery doesn’t have to be finished in one afternoon. Some of the most beautiful galleries are collected over time as new memories are made.
Enjoy the process, and let your walls grow with your family.
Refresh Your Wall Gallery Over Time
One of my favorite things about having a wall gallery is that it doesn’t have to stay the same forever. In fact, I encourage you to refresh it every so often.
As life changes and new memories are made, update your gallery with recent family photos, treasured keepsakes, artwork, or vintage finds you’ve collected along the way. Swapping out a few frames or adding a meaningful piece can give your wall gallery a fresh new look without having to start from scratch.
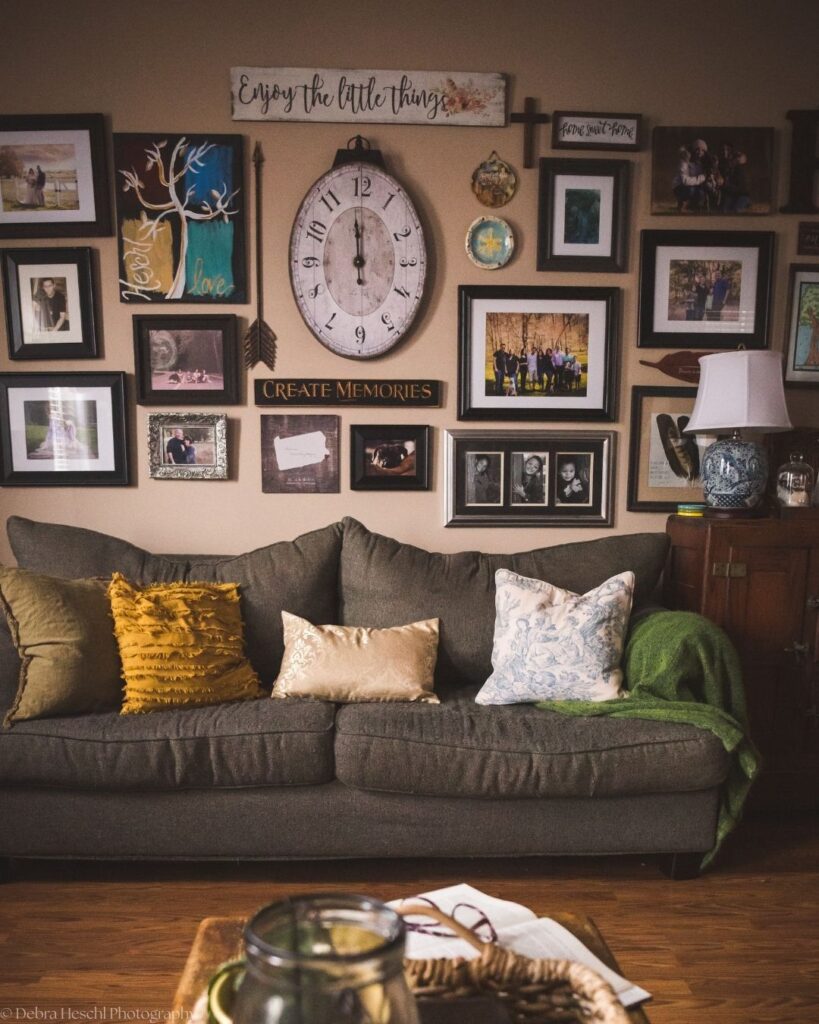
I recently updated my own wall gallery by replacing a few photos and adding some different memorabilia. It’s amazing how a few simple changes made the entire display feel new again while still telling our family’s story.
Think of your wall gallery as something that grows with your family. Whether you’re celebrating milestones, displaying vacation memories, or showcasing a favorite antique find, each addition makes your home feel even more personal and welcoming.
Don’t be afraid to rearrange, remove, or add pieces as your style evolves. Your wall gallery should reflect who you are today while preserving the memories that mean the most to you.
Frequently Asked Questions
Final Thoughts
Designing a wall gallery is one of my favorite ways to make a house feel like home. It tells your family’s story while adding warmth, character, and personality to your space.
Don’t worry about making everything perfectly symmetrical. The most beautiful gallery walls evolve over time as new memories are made and collected.
Feeling inspired? Browse Pinterest for more gallery wall ideas, gather your favorite family photos, and have fun creating a display that’s uniquely yours.
Happy decorating! Xo
Pin for Later!