How to Get Out of Auto Mode and Start Shooting in Manual
If you’ve wondered how to leave auto mode, you’re not alone. Many beginners start there because it feels safe and easy, but it can quickly become frustrating and limiting.
Ready to stop letting your camera decide and take creative control? Manual mode is your next step—and it’s less intimidating than it seems.
If you want better photos and consistent creative results, auto mode will eventually hold you back.
Let’s explore why auto mode eventually limits you, and then break down how you can move confidently into manual mode without feeling overwhelmed.
Why So Many Photographers Stay in Auto Mode
Auto mode feels safe. It feels easy. You point, you shoot, and the camera decides everything for you: aperture, shutter speed, and ISO. And honestly? That’s fine when you’re just starting.
There are usually three reasons:
- It feels complicated: Aperture (how wide the lens opens), shutter speed (how long the camera’s sensor is exposed to light), ISO (how sensitive the sensor is to light)… these terms can sound technical and intimidating.
- You’re afraid of messing up: What if everything turns out blurry, too dark, or too bright?
- Auto “kind of” works: The photos aren’t terrible, but they’re not amazing either.
The truth is your camera is smart, but it doesn’t know your vision.
- It doesn’t know if you want a creamy background blur
- It doesn’t know if you want motion frozen
- It doesn’t know whether you want bright, airy images or dark, moody ones.
Only you know what you want to achieve.
What Auto Mode Is Really Doing
In Auto mode, your camera makes all exposure (how light or dark your photo is) decisions based on what it thinks is “correct.”
It aims for balanced exposure, prioritizing technical correctness over creativity.
That’s why:
- Backgrounds aren’t as blurry as you hoped
- Indoor photos look flat
- Sunset photos lose their warmth
- Action shots turn out blurry
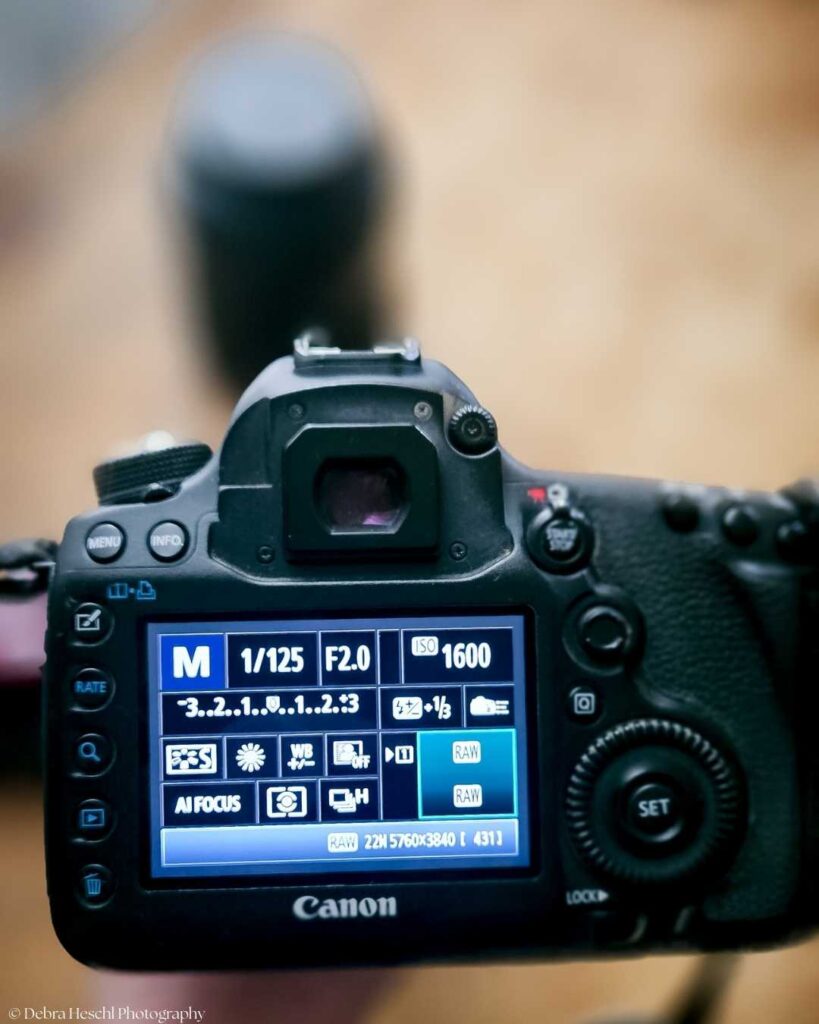
When you switch to manual mode, you take control of:
- Aperture (depth of field)
- Shutter Speed (motion)
- ISO (light sensitivity)
And that’s when things start to click.
The Secret: You Don’t Have to Learn Everything at Once
One of the biggest myths about shooting in manual mode is that you need to master everything immediately. You don’t have to learn it all right away.
Start with this:
Practice Exercise: Pick a single object, like a mug or a plant, and photograph it several times while changing only the aperture (for example: f/1.8, f/4, f/8, f/16).
Notice how the background becomes more or less blurry depending on your settings. This hands-on approach will help you see the effect of aperture in real time and boost your confidence.
Step 1: Learn Aperture First
Aperture controls background blur.
- Lower number (f/1.8, f/2.8) = blurry background
- Higher number (f/8, f/11) = more in focus
If you love creamy portraits, aperture creates that magic.
Step 2: Understand Shutter Speed
Shutter speed controls motion.
- Fast shutter (1/500+) = freezes motion
- Slow shutter (1/60 or lower) = motion blur
If your kids or pets look blurry, it’s probably the shutter speed.
Step 3: Adjust ISO Last
ISO makes your image brighter.
- Lower ISO = cleaner image
- Higher ISO = brighter but more grain
Think of ISO as your brightness helper.
A Simple Way to Transition Out of Auto Mode
If jumping straight into full manual mode feels scary, try this:
- Start in Aperture Priority (A or Av mode)
- Choose your aperture
- Let the camera handle the rest
It helps you control depth of field without having to manage everything at once.
This builds your confidence. Confidence moves you forward.
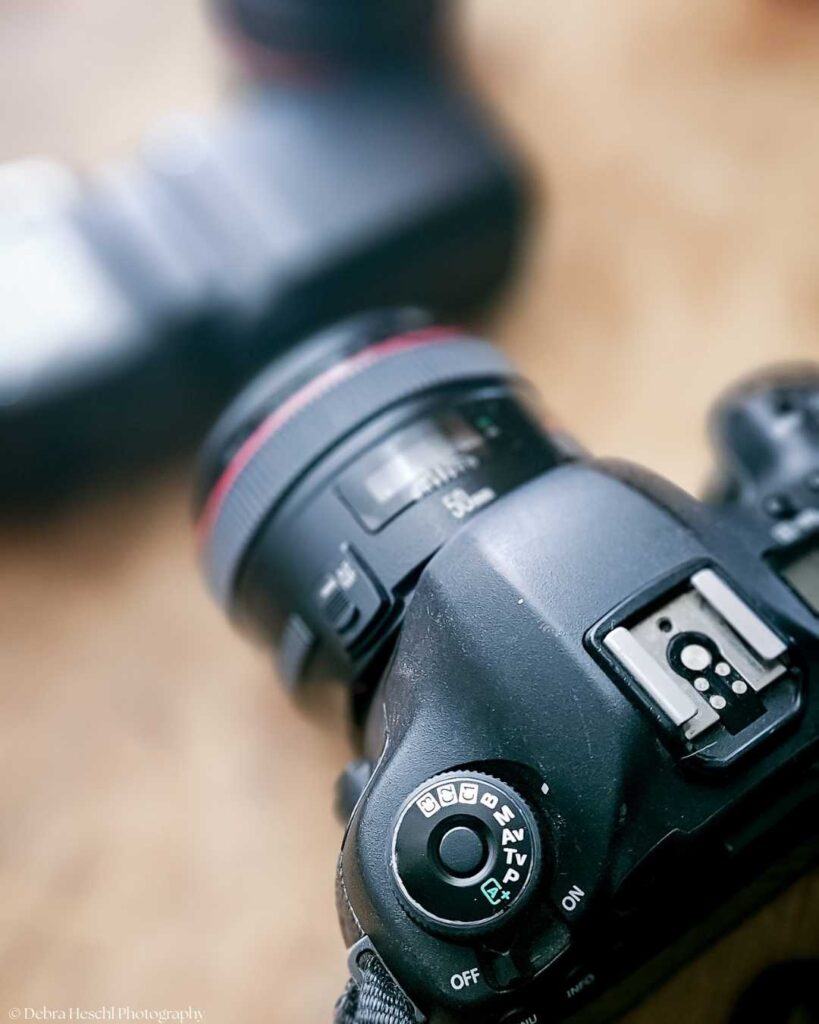
Note: Start in Aperture Priority (A or Av mode). Most DSLRs and mirrorless cameras offer these shooting modes, so check your camera’s mode dial for an A or Av setting. Some compact cameras might not have these options; refer to your camera manual to see what’s available for your gear.
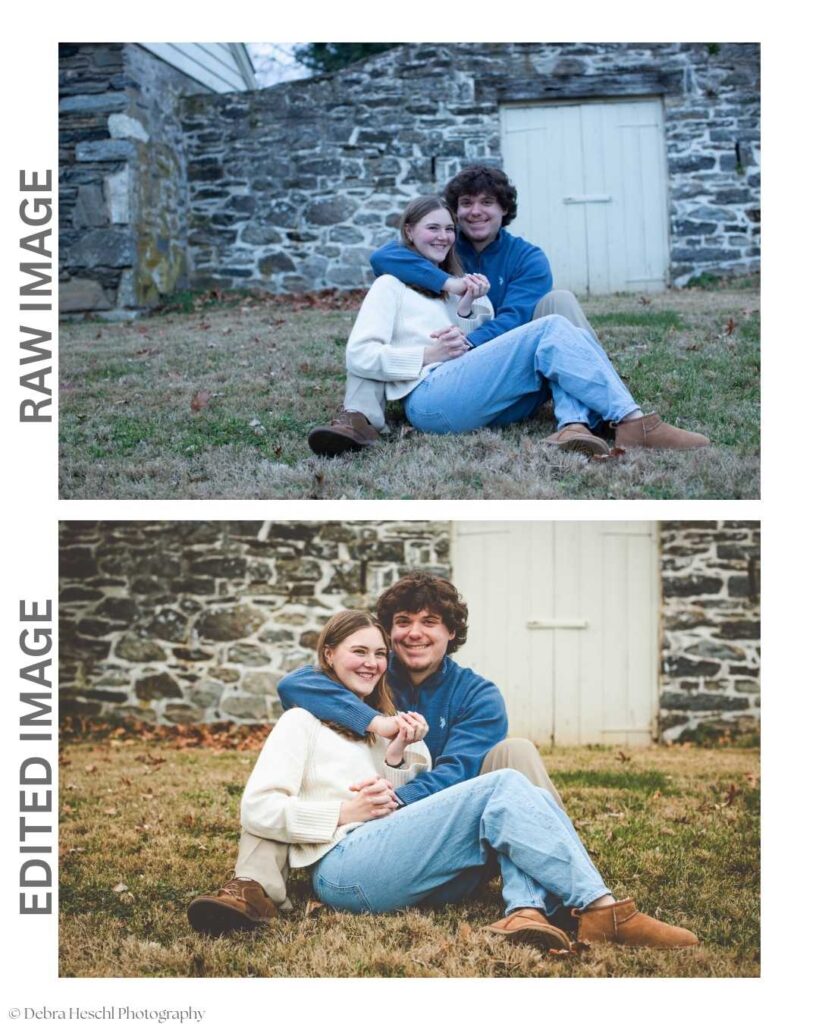
What Changes When You Leave Auto Mode
When you shoot in manual mode, something shifts. You stop hoping for good photos, you start creating photos on purpose.
Your images become:
- More consistent
- More artistic
- More aligned with your style
- More professional-looking
And honestly? It feels empowering.
5 Quick Tips for Shooting in Manual Mode
- Practice in good light first.
- Shoot the same subject with different settings to see what changes.
- Check your exposure meter in the viewfinder.
- Don’t panic if you mess up; that’s how you learn.
- Review your photos and adjust; digital photography is forgiving.
Troubleshooting Tip: Review your photos and adjust; digital photography is forgiving. If your pictures look too dark, try lowering your shutter speed, opening your aperture (lowering the f-number), or increasing your ISO.
If they are too bright, try raising your shutter speed, closing your aperture (using a higher f-number), or lowering your ISO. A few small tweaks can make a big difference, so don’t be afraid to experiment until you get the look you want.
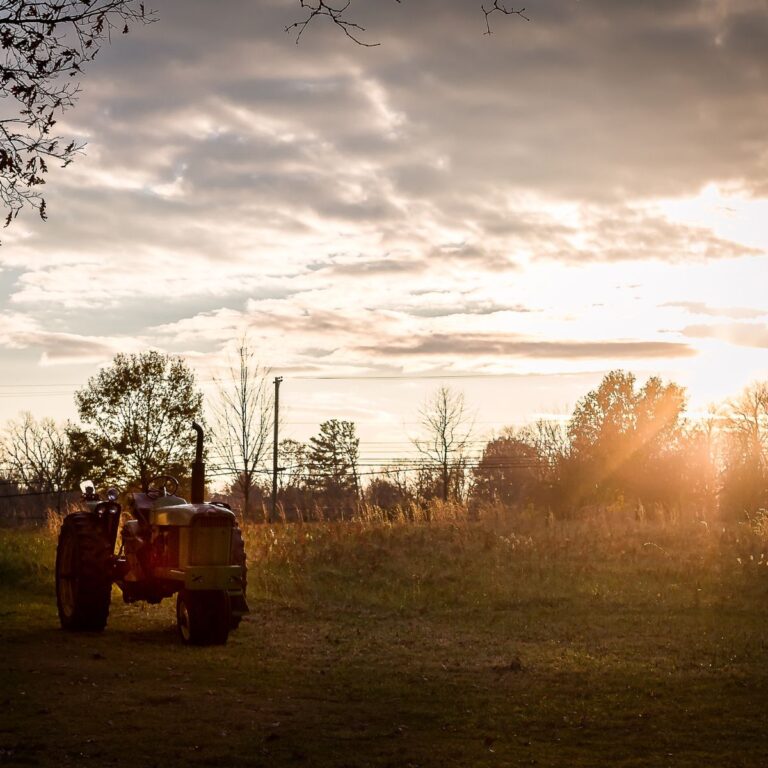
ISO 1000 f/3.2 1/125
What I Did When I Was Learning
When I first started photography, I stayed in auto mode way longer than I should have.
It felt safe. Predictable. Easy.
But I felt frustrated because my photos didn’t match my vision. I couldn’t get a soft background blur. My images lacked intention. They just happened.
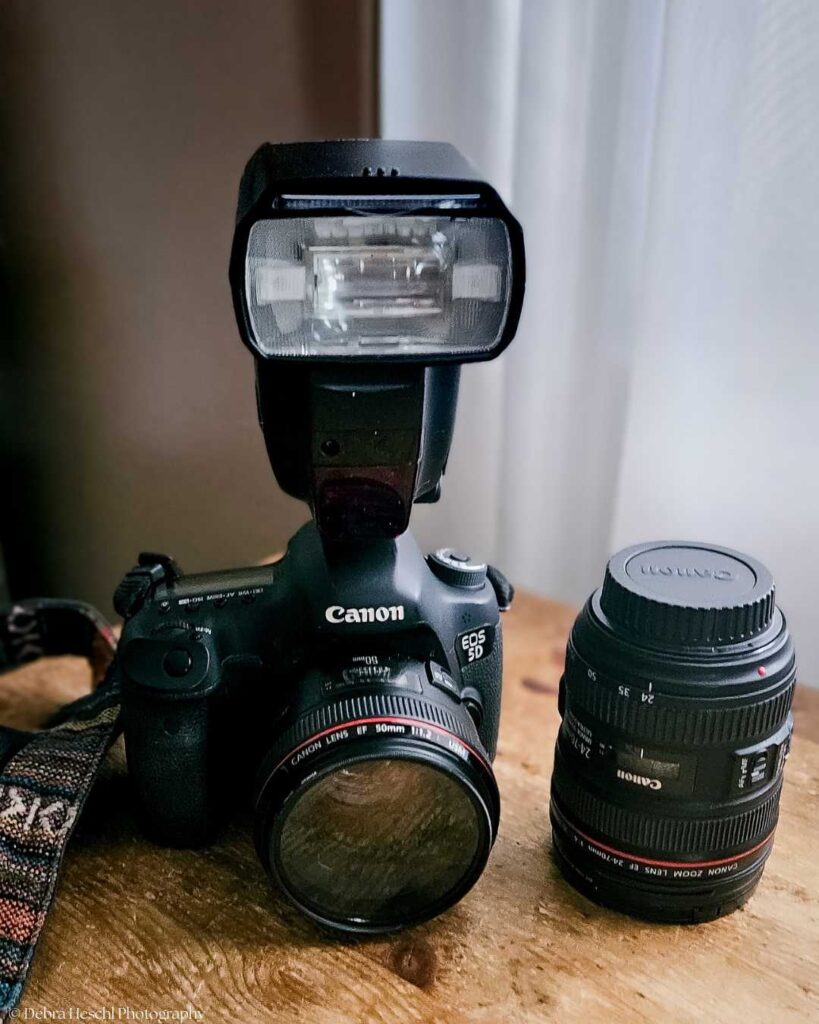
And let’s talk about that built-in pop-up flash. I used it all the time. I didn’t know better, and it made harsh, unflattering shadows—bright foreheads, dark backgrounds, and that “snapshot” look I didn’t love.
Auto mode + pop-up flash meant my camera was making every decision for me.
And I realized something important:
Shop this Post
Canon EOS 5D Mark III DSLR Camera
Canon Speedlite 600EX-RT Flash
If I wanted creative control, I had to take it. So, I started practicing constantly.
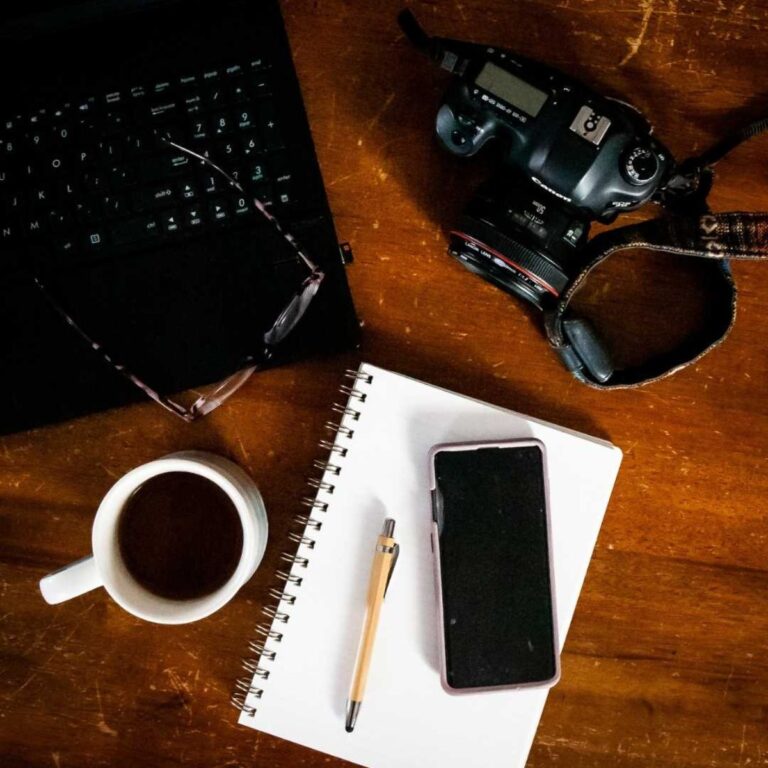
I photographed everything: my home, my pets, objects near windows, anything that got good light. I switched to manual and forced myself to learn how aperture, shutter speed, and ISO worked together.
At first, I messed up a lot; the photos were too dark. Too bright. Blurry. Grainy.
But every mistake taught me something. And eventually… it clicked. Manual mode stopped feeling scary and started feeling freeing.
That’s when my photography truly changed, because I wasn’t hoping my camera would get it right anymore. I was deliberately choosing the look, the light, and the mood.
Frequently Asked Questions
Recommended Posts You’ll Fancy!

Final Thoughts
If you’re stuck in auto mode, you’re not untalented. You just haven’t learned the tools yet.
And once you do? Everything opens up. Your camera is capable of so much more than Auto allows. And so are you.
Ready to take the next step? Try this: Pick up your camera, switch to manual mode, and snap a photo of something meaningful to you.
It could be your morning coffee, a favorite book, or a corner of your home. Notice how much more creative control you have.
If you want a little extra motivation, share your first manual shot with a friend or on social media, and let others cheer you on. The best way to learn is to start—and your journey begins with just one picture.