Common Cell Phone Photography Mistakes (And How to Fix Them)
Cell phone cameras are incredibly powerful, but small mistakes can make photos look dull, harsh, or cluttered. The good news? Most of these issues are simple to fix once you know what to look for.
Whether you’re photographing your kids, your home, or everyday moments, these tips will help you take clearer, brighter, more beautiful photos using just your phone.

4 Common Cell Phone Photography Mistakes (And How to Fix Them)
Mistake #1: Using Digital Zoom
Why it’s a problem
Digital zoom reduces image quality, resulting in grainy, blurry photos.
How to fix it
- Move closer to your subject instead
- Crop the photo later while editing
- Use portrait mode if available for better subject focus
Pro tip: Clean your phone lens often; this alone can dramatically improve sharpness.
Mistake #2: Shooting in Harsh Midday Sun
Why it’s a problem
Midday light creates:
- Strong shadows
- Washed-out highlights
- Squinting faces
How to fix it:
- Photograph in early morning or golden hour
- Move into open shade (porch, tree shade, building shadow)
- Turn subjects so light hits them from the side
Cloudy days are actually AMAZING for phone photography. Clouds soften sunlight, reducing harsh shadows and making colors look richer. This flattering, even light makes it much easier to capture beautiful photos with your phone.
Mistake #3: Busy or Cluttered Backgrounds
Why it’s a problem
Clutter pulls attention away from your subject and makes photos feel chaotic.
How to fix it
- Simplify the scene before shooting
- Change your angle
- Use blank walls, beds, curtains, or greenery as backgrounds
- Try shooting from slightly above
This is especially helpful for home decor and lifestyle photos.
Mistake #4: Overediting Photos
Why it’s a problem
Too much editing can make photos look:
- Orange
- Too sharp
- Artificial
- Dark or muddy
How to fix it
- Make small adjustments
- Focus on brightness first
- Slightly increase warmth and contrast
- Keep skin tones natural
A good rule: If you can clearly “see the edit,” it may be too much.
Bonus Mistakes You Could Add
You may want to include:
- Not wiping the lens
- Holding the phone incorrectly
- Not using gridlines for composition
- Forgetting to tap to focus
- Shooting too quickly without checking the light
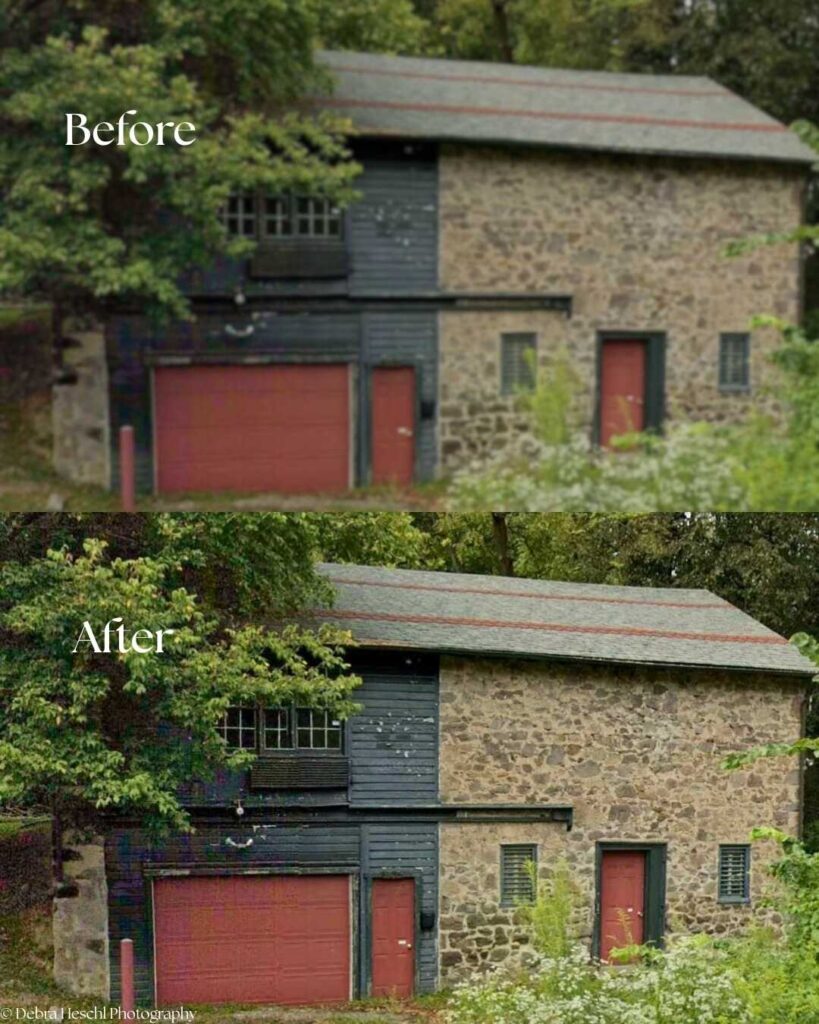
Tips for Preventing Blur & Improving Stability
- Hold Your Phone with Both Hands: Keeping both hands on your phone reduces shaking and gives you better control.
- Keep Elbows Close to Your Body: This adds natural stability and prevents camera wobble.
- Stand Still or Sit While Shooting: Even a slight movement can blur your photo, so pause for a moment before pressing the shutter.
- Use a Tripod or Phone Stand: Small, portable phone tripods are ideal for hands-free shooting, especially in low-light conditions.
- Enable Burst Mode for Moving Subjects: Taking multiple shots in quick succession increases the chance of capturing a sharp image.
- Tap to Focus Before Shooting: Focusing manually ensures your subject is sharp and helps prevent the camera’s auto-focus from missing.
- Clean Your Lens: A smudged or dusty lens can make photos look soft or hazy. A quick wipe can make a big difference.
- Consider Image Stabilization Features: Many phones have built-in stabilization, so make sure it’s enabled for handheld shots.
Best Editing Apps for Phone Photography
Many free editing apps make it easy to enhance your photos.
Popular choices include:
Start with small adjustments like brightness, contrast, warmth, and gentle sharpening for natural-looking results.
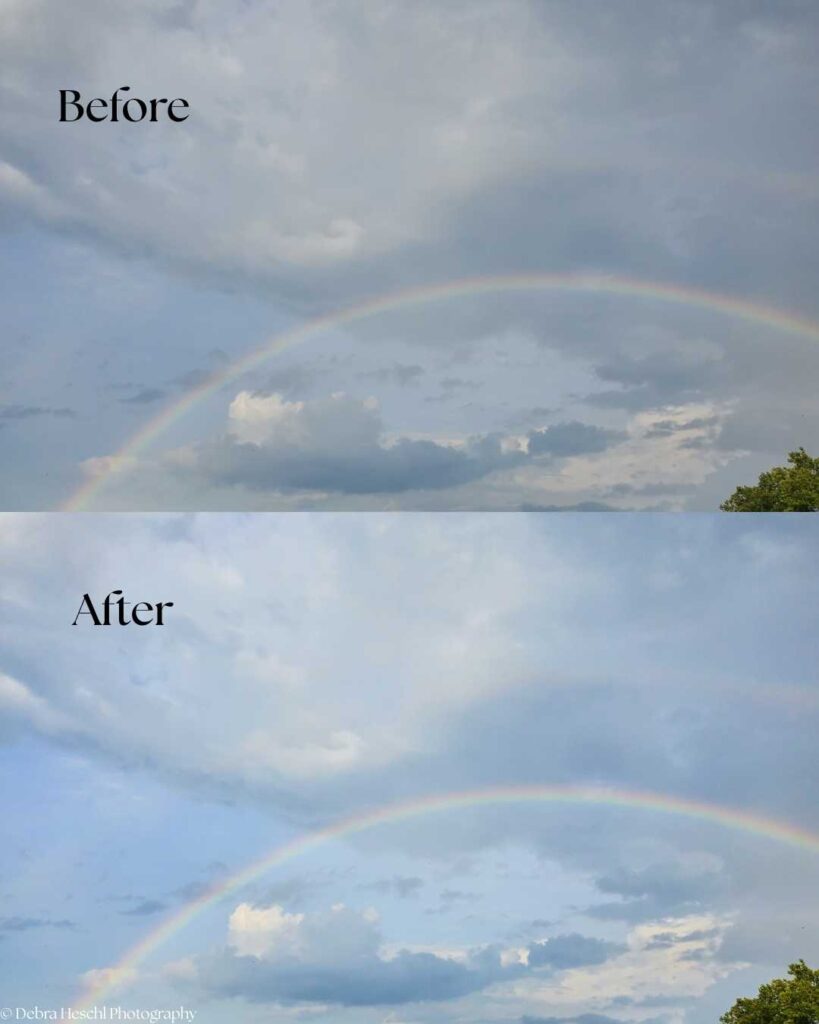
How to Make Phone Photos Look Professional?
Professional-looking phone photos aren’t about having the newest device; they’re about understanding light, composition, and simple editing.
With a few intentional choices, you can transform everyday moments into photos that feel warm, clean, and beautifully captured.
Here are some tips to elevate your phone photography:
- Shoot in soft light: Position your subject near a window or outdoors during early morning or late afternoon for gentle, flattering light.
- Keep backgrounds clean: Choose simple, uncluttered backgrounds that let your subject shine.
- Focus on one main subject: Avoid overcrowding the frame to create a clear point of interest.
- Use gridlines: Turn on your phone’s grid feature to improve composition and keep horizons straight.
- Edit lightly: Make small adjustments to brightness, warmth, and contrast to enhance your photo without overdoing it.
Most importantly, take your time when composing the shot. Thoughtful placement, natural light, and simple editing can turn ordinary moments into beautiful, professional-looking photos.
How to Organize Photos on Your Phone for Easy Access
Keeping your phone photos organized makes it easier to find your best images, edit them, and actually use them for your blog or social media. A simple system can save time and help you stay more intentional with the photos you take.
Here are a few easy ways to organize your phone photos:
- Create albums for quick access
Sort your photos into simple categories like family, home decor, seasons, or blog content so everything is easy to find. - Favorite your best photos
Use the “favorites” feature to quickly collect your top images for editing, sharing, or posting. - Delete duplicates and blurry photos regularly
Removing extra or low-quality images keeps your camera roll clean and easier to manage. - Use simple naming or tagging (if available)
This can help you quickly locate photos for specific blog posts or projects. - Back up your photos for peace of mind
Use cloud storage or an external device to keep your photos safe and accessible.
Taking a few minutes to organize your photos each week can make a big difference. It keeps your camera roll clutter-free and helps you stay focused on capturing meaningful, beautiful moments.
Recommended Posts You’ll Fancy!


Frequently Asked Questions
Final Thoughts
Great phone photography isn’t about having the newest device; it’s about understanding light, simplicity, and small intentional choices.
With just a few adjustments, you can transform everyday snapshots into photos that feel warm, meaningful, and beautifully captured.
Pin for Later!